

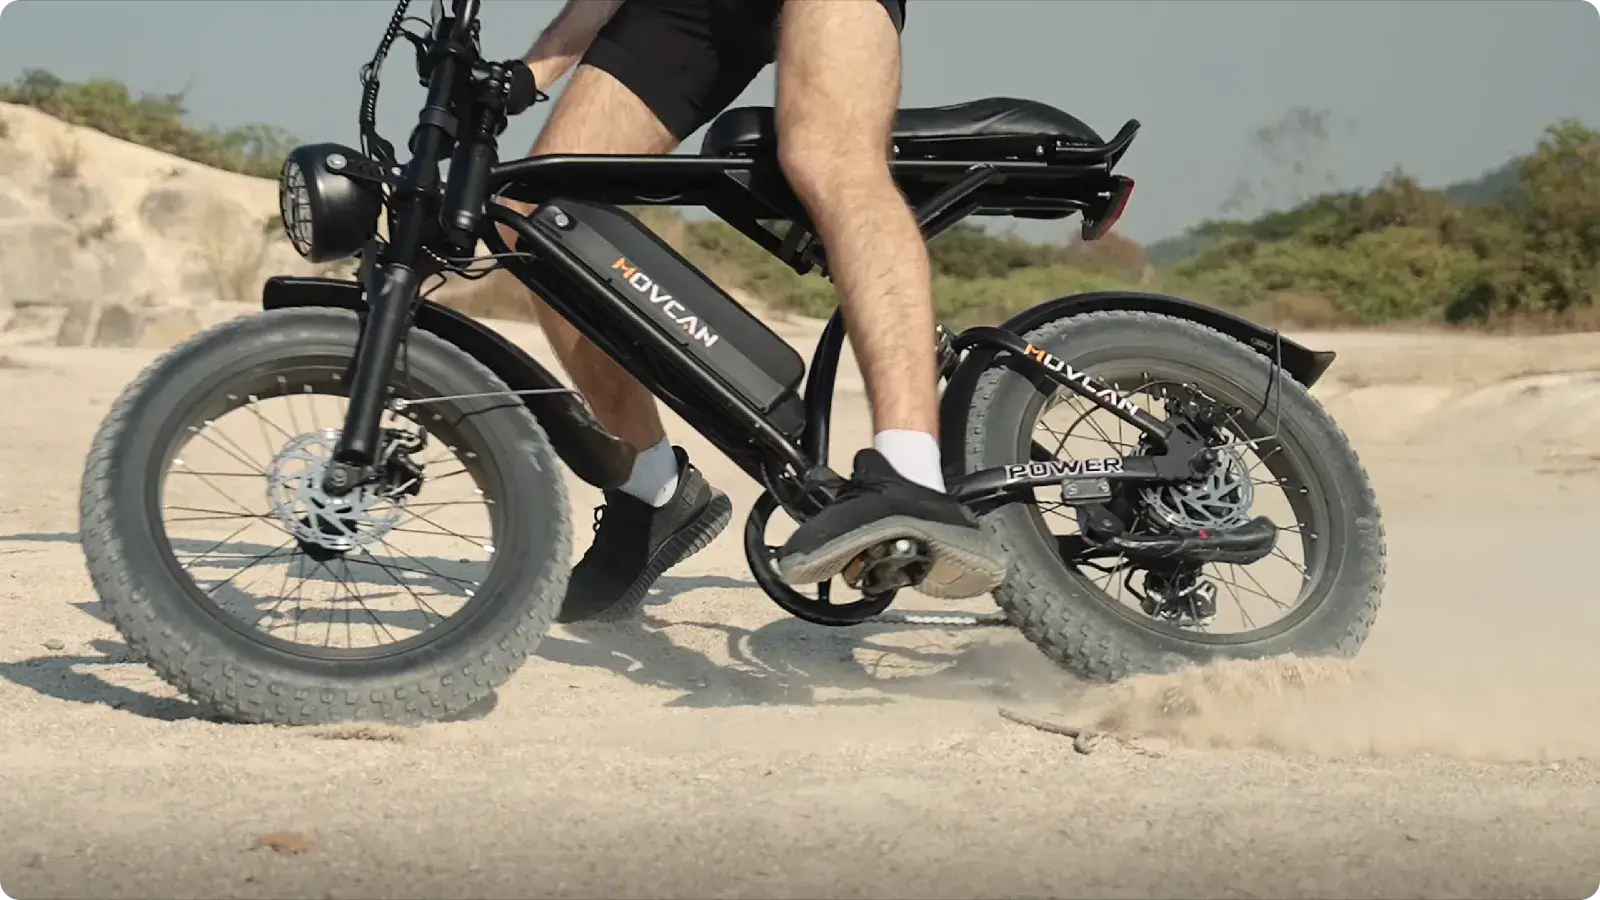
Reliable braking is fundamental to e-bike safety. With the higher speeds and increased weight of electric bikes, properly functioning brakes are even more critical than on conventional bicycles. This comprehensive guide will help you identify, diagnose, and resolve the most common brake issues that e-bike riders encounter, ensuring your stopping power remains consistent and dependable.
Understanding E-Bike Brake Fundamentals
Why E-Bike Brakes are Different
Before diving into troubleshooting, it's important to understand how e-bike braking differs from conventional bikes:
- Higher speeds require greater stopping power
- Additional weight (often 15-30 pounds more) increases stopping distance
- More frequent use leads to accelerated wear
- Greater heat generation from more intense braking
According to research published in the Journal of Sports Engineering, e-bike brakes experience up to 40% more stress than those on conventional bicycles, making proper maintenance and troubleshooting even more important.
Brake Types on Movcan E-Bikes
Movcan e-bikes utilize two primary brake types:
- Hydraulic disc brakes: Fluid-based systems offering powerful, modulated stopping with self-adjusting pads
- Mechanical disc brakes: Cable-actuated systems with manual adjustment and simpler maintenance
For a detailed comparison of these systems, visit our Movcan brake comparison guide.
Common Brake Noises and Their Solutions
Squealing and Squeaking
That high-pitched noise when applying brakes is among the most common complaints:
Causes of Brake Squealing
- Contaminated brake pads from oils or cleaning products
- Glazed pad surface from excessive heat
- Misaligned calipers causing uneven pad contact
- Loose rotor bolts allowing vibration
- Inadequate pad bedding during initial installation
Solutions for Squealing Brakes
- Clean the rotors with isopropyl alcohol (90%+) and a clean, lint-free cloth
- Replace contaminated pads if cleaning doesn't resolve the issue
- Sand glazed pads lightly with fine sandpaper
- Check rotor bolts and tighten to recommended torque
- Re-align calipers to ensure even pad contact
For persistent squealing, consider these additional steps:
- Apply anti-squeal compound to the back of pads
- Check for rotor warping using the gap between pads as a reference
- Consider upgrading to resin pads, which tend to run quieter
Grinding and Scraping
A grinding sound indicates potentially serious issues that require immediate attention:
Causes of Grinding Noises
- Worn pads where metal backing contacts the rotor
- Foreign debris caught between pad and rotor
- Damaged rotor surface with gouges or heat spots
- Caliper piston issues (hydraulic systems)
Solutions for Grinding Brakes
- Inspect pad thickness - replace if worn below 1.5mm
- Remove and clean pads and rotors thoroughly
- Check rotor surface for damage - replace if significantly gouged
- Verify caliper piston movement is smooth and even
According to the Professional Bicycle Mechanics Association, metal-on-metal grinding indicates an urgent need for pad replacement to prevent expensive rotor damage.
For detailed pad inspection procedures, check our Movcan brake maintenance guide.
Power and Performance Issues
Weak Braking Power
Insufficient stopping power creates dangerous situations, especially on e-bikes:
Causes of Weak Braking
- Contaminated brake surfaces from oils or cleaners
- Worn brake pads beyond serviceable limits
- Air in hydraulic lines (hydraulic systems)
- Improper pad compound for riding conditions
- Undersized rotors for e-bike weight and speed
Solutions for Power Restoration
- Clean rotors and replace contaminated pads
- Bleed hydraulic systems to remove air
- Verify cable tension in mechanical systems
- Consider rotor size upgrade (180mm minimum for e-bikes)
- Switch to e-bike specific pad compounds with higher heat tolerance
For severe power loss in hydraulic systems, a full system bleed is recommended. Visit our Movcan hydraulic brake bleeding guide for detailed instructions.
Inconsistent or Pulsating Brakes
Pulsating brake feel—where stopping power varies during brake application—creates control issues:
Causes of Pulsating Brakes
- Warped rotors from overheating or improper storage
- Uneven pad deposits on the rotor surface
- Hub/bearing play allowing lateral rotor movement
- Caliper mounting issues creating flex during braking
Solutions for Smooth Braking
- Check rotor trueness by spinning the wheel and observing pad gap
- True minor rotor warps using a rotor truing tool
- Replace severely warped rotors
- Clean rotors to remove uneven pad deposits
- Verify proper hub adjustment and wheel bearing condition
According to the International Mountain Bicycling Association, rotor warping as small as 0.2mm can create noticeable pulsation, especially at higher e-bike speeds.
Hydraulic Brake-Specific Issues
Soft or Spongy Lever Feel
A soft, spongy brake lever indicates hydraulic system issues:
Causes of Spongy Brakes
- Air in the hydraulic lines
- Deteriorated fluid from moisture absorption or heat
- Internal seal issues in the master cylinder or calipers
- External fluid leaks from fittings or hoses
Solutions for Firm Lever Feel
- Perform a proper system bleed following manufacturer procedure
- Replace hydraulic fluid if old or contaminated
- Inspect for leaks around fittings, hose connections, and caliper pistons
- Check master cylinder for proper function and seal condition
For Movcan-specific bleeding procedures, check our Movcan brake bleeding video tutorial.
Sticky or Seized Pistons
Caliper pistons that don't move freely cause uneven pad wear and poor performance:
Causes of Stuck Pistons
- Corrosion on piston surfaces
- Dirt accumulation around piston seals
- Swollen seals from improper fluid or contamination
- Excessive heat damage from prolonged heavy braking
Solutions for Free-Moving Pistons
- Remove pads to access pistons
- Clean visible piston surfaces with brake cleaner
- Carefully push pistons back with plastic tool
- Apply silicone-based lubricant to piston edges
- Cycle pistons by pumping brake lever to restore movement
For severely seized pistons that don't respond to cleaning, caliper rebuild or replacement may be necessary.
Mechanical Brake-Specific Issues
Cable Tension Problems
Proper cable tension is critical for mechanical disc brake performance:
Causes of Tension Issues
- Cable stretch from normal use
- Housing compression over time
- Frayed cables creating increased friction
- Binding in housing from dirt or damage
Solutions for Optimal Tension
- Adjust barrel adjusters for minor tension changes
- Reset pad position and re-tension cable for major adjustments
- Replace stretched or damaged cables
- Use quality compressionless housing for improved performance
For detailed cable adjustment procedures, visit our Movcan mechanical brake adjustment guide.
Single-Sided Pad Movement Issues
Many mechanical disc brakes move only one pad, causing alignment challenges:
Causes of Poor Pad Alignment
- Improper initial setup during installation
- Caliper mounting issues preventing proper alignment
- Fixed pad adjustment issues on the non-moving side
- Worn caliper components allowing excessive movement
Solutions for Even Pad Contact
- Adjust fixed pad position to provide 0.3mm clearance to rotor
- Center caliper over rotor before tightening mounting bolts
- Verify caliper movement is perpendicular to rotor
- Consider dual-piston mechanical calipers for easier adjustment
Brake Adjustment Procedures
Basic Caliper Alignment
Proper caliper alignment ensures even pad contact and consistent braking:
Hydraulic Caliper Alignment Procedure
- Loosen caliper mounting bolts until caliper moves freely
- Squeeze brake lever firmly and hold
- While maintaining lever pressure, tighten mounting bolts alternately
- Release lever and verify even pad clearance on both sides
Mechanical Caliper Alignment Procedure
- Loosen caliper mounting bolts
- Adjust fixed pad position to 0.3mm from rotor
- Center caliper over rotor
- Tighten mounting bolts while maintaining alignment
- Adjust cable tension for proper moving pad clearance
Pad Clearance Optimization
Proper pad clearance prevents rubbing while ensuring responsive braking:
Hydraulic Systems
- Verify pistons retract properly after braking
- Clean pistons if retraction is uneven
- Check for proper fluid level in the system
Mechanical Systems
- Adjust fixed pad to 0.3mm clearance from rotor
- Set cable tension so moving pad has 0.3-0.5mm clearance
- Use barrel adjuster for fine-tuning as pads wear
Rotor Truing Techniques
Minor rotor warps can often be corrected without replacement:
- Identify warp location by spinning wheel and watching rotor pass through caliper
- Use dedicated rotor truing tool or adjustable wrench with padding
- Make small, incremental adjustments bending away from rub location
- Work methodically around the rotor addressing all warp points
- Avoid over-bending which can weaken the rotor
For visual guidance on rotor truing, check the Park Tool rotor truing guide.
Preventative Maintenance
Regular Inspection Schedule
Prevent issues before they occur with regular inspection:
Weekly Quick Checks
- Visually inspect pad thickness
- Check for rotor damage or contamination
- Verify lever feel and consistent power
- Listen for unusual noises during light braking
Monthly Thorough Inspection
- Check pad thickness with measurement tool
- Inspect rotors for trueness and wear
- Verify caliper mounting bolt tightness
- Clean exposed brake components
Quarterly Deep Maintenance
- Remove and clean pads if serviceable
- Check hydraulic connections for leaks
- Inspect cables and housing for wear or binding
- Verify rotor bolts are at proper torque
Proper Cleaning Protocols
Maintaining clean brake components is essential for consistent performance:
Cleaning Do's
- Use isopropyl alcohol (90%+) on rotors and pads
- Apply cleaner with clean, lint-free cloth
- Allow components to dry completely before riding
- Clean in well-ventilated area
Cleaning Don'ts
- Never use bike degreasers on brake components
- Avoid spraying WD-40 or similar lubricants near brakes
- Don't touch rotors or pad surfaces with bare hands
- Never use pressurized cleaners directly on calipers
Breaking In New Components
Proper break-in procedures establish optimal performance:
New Pad Break-In Process
- Find a clean, flat area with no traffic
- Accelerate to moderate speed (10-15 mph)
- Brake firmly but not completely to a slow walking pace
- Repeat 15-20 times, allowing brakes to cool between sets
- Avoid complete stops during the break-in process
This procedure deposits an even layer of pad material on the rotor, establishing optimal friction surfaces.
When to Seek Professional Help
Warning Signs of Serious Issues
Some brake problems require professional attention:
- Fluid leaks from any part of hydraulic systems
- Cracked rotors or mounting points
- Seized caliper pistons that don't respond to cleaning
- Structural damage to calipers or mounting points
- Brake fade during normal use (indicates heat issues)
- Inconsistent lever feel despite proper bleeding
Finding Qualified E-Bike Brake Service
Not all bike shops have specific e-bike brake expertise:
- Look for shops with certified e-bike technicians
- Ask about experience with your specific brake model
- Verify they have proper tools for hydraulic service
- Consider manufacturer-certified service centers
For assistance finding qualified service, use our Movcan service center locator.
E-Bike Specific Brake Upgrades
Rotor Size Considerations
Larger rotors provide improved heat dissipation and leverage:
- 160mm: Minimum for rear e-bike brakes (light riders)
- 180mm: Recommended minimum for e-bike front brakes
- 203mm: Optimal for heavier riders or demanding conditions
When upgrading rotor size, ensure:
- Frame/fork compatibility with larger rotors
- Appropriate adapters are used for mounting
- Caliper compatibility with the rotor size
E-Bike Specific Pad Compounds
Specialized pad compounds provide benefits for e-bike use:
- Metallic/sintered pads: Better heat management, longer life
- Resin/organic pads: Quieter operation, better initial bite
- Semi-metallic pads: Balance of performance characteristics
For Movcan-specific brake pad recommendations, visit our Movcan brake pad selector.
Conclusion: Maintaining Optimal Braking Safety
Proper brake function is non-negotiable for e-bike safety. By understanding common issues and their solutions, you can maintain optimal braking performance and address minor problems before they become major safety concerns.
Remember these key takeaways:
- Regular inspection prevents most serious issues
- Address unusual noises or performance changes promptly
- Clean brake components using only appropriate products
- Consider e-bike specific components when replacing parts
With the higher speeds and weights inherent to e-bikes, investing time in brake maintenance delivers significant safety returns. Whether you perform maintenance yourself or seek professional service, keeping your braking system in top condition ensures you can ride with confidence in any situation.
For all your e-bike brake maintenance needs, explore our complete Movcan brake component collection featuring parts and accessories specifically selected for optimal e-bike braking performance.